Hey all, Pat here. Gonna try something different with this post and turn it over to my buddy Davis. His work has shown up on this blog before in the form of flight stands and force field barriers, but now he’s gone and whipped up an entire custom Heroclix map. Lemme turn the mic over to him so he can fill you in on the details…
———-
Thanks Pat. I’ve been gaming for years—mostly pen and paper like Villains & Vigilantes—and Heroclix was a fun change of pace for my gaming group. After seeing what modders were doing with custom Heroclix figures and 3-D battlefields, I wanted to take a shot at it.
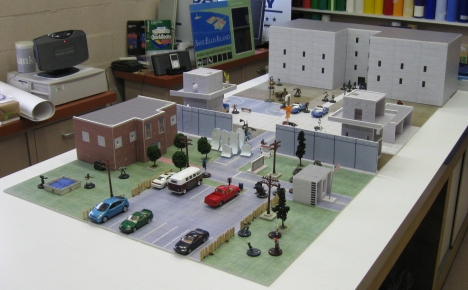
I knew the type of map I wanted to build right away: a prison. It’s a fun setting—bad guys are always trying to break in or out. I added a prison yard so there was a place to shank snitches and a civilian area outside the fence so inmates had a place terrorize once they escaped.
Once I had the overall idea of the type of map I wanted to build, it was time to get busy. I worked on it during the night after my kids went to bed and even then it was only one or two nights a week. From the first sketches to the final product was about three months, but actual work was more like six days. Four on the computer working with the designs and getting everything looking just right, then two days for cutting everything to shape and gluing it all together. I still ended up having to rush through assembly to get it ready in time for its debut.
All board pieces are 3/16″ foam board cut from 20″x30″ sheets. The cutouts for the windows, doors, and breakout sections were freehand. I used a foam board cutting tool (Logan series 1500) to do the edges and 45-degree bevel cuts on the corners.
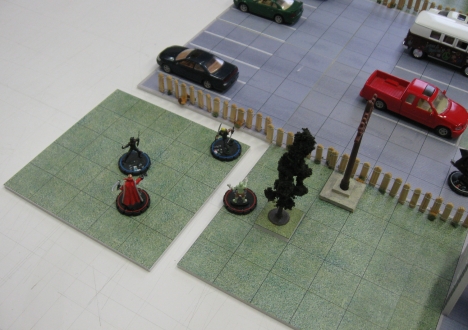
Building the map as a series of smaller tiles instead of a single giant board makes for easier storage.
Finding the images I wanted to use as the map’s “wallpaper”—the terrain and building art—was the most time consuming. Once I decided what I wanted a building or a piece of terrain to look like, I searched the internet for textures and pictures. Some were a snap to find (brick and cement walls), some were pretty close to what I wanted and needed only minor modifications (grass sections, roofs), and some were amalgamations of pictures, textures, and photoshop magic (fence + barb wire, road sections). There are a lot of sites out there that have free stock photos and textures. The best I found for textures is CGTextures, but some other good ones are TextureBarn and Texturez.
Everything was put together, colored, and sized through photoshop. Unless I lucked out and found an image that was already the perfect size, I had to modify it in a way so it can be used as a seamless, repeatable tile. Just create an object the size and shape you want and apply that pattern as a fill layer. There are plenty of good tutorials available on the web for this.
For the terrain, I created one master board with several layers. Then by showing and hiding certain layers, I could get any combination needed (green grass with brick walkway, brown grass with cement sidewalk, etc). This also allows for easy re-use if I add other patters/terrains later.
As a side-note, I’m self-taught in photoshop and in no way an expert, so there may be easier ways to do some of this. I’m just using some of the tricks I’ve picked up over the years while photoshopping friends into humiliating photographs.
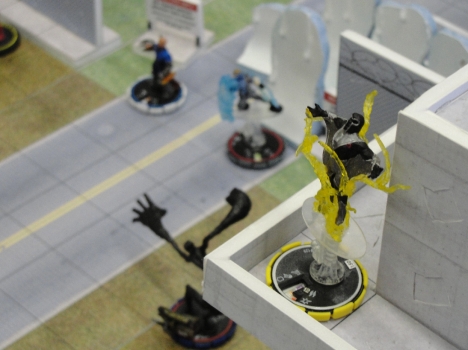
My favorite parts of the map are the two guard towers. Those structures just have an air of menace—big brother is watching! —and it never gets old blasting players who hang out there and snipe.
If you’re the guy in the guard tower sniping down on everyone else, it’s smart strategy and you’re a genius. If you’re one of the targets on the ground getting sniped, then the guy in the tower is a giant wuss and should be punched in the face.
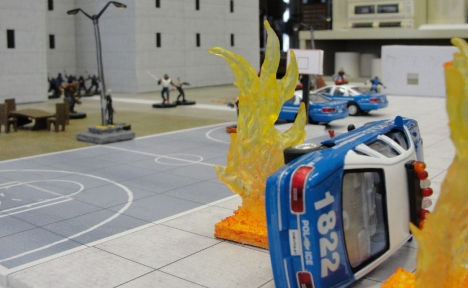
Variety in the map terrain made the overall board more colorful. The basketball court inside the prison yard helped mix things up so not everything was the same white stone finish.
Basketball hoops are hand made foam board.
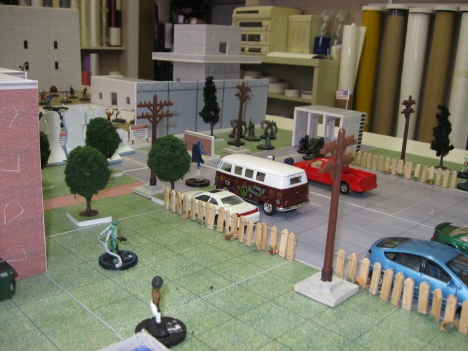
Having cars on the map is a nice touch. The ones featured in these photos are all off-brand toys from a local drug store that ran about five dollars each.
For most of the walls, buildings, fences, and signs I printed my designs out on Staples brand matte white sticker paper. Simple to print, then just stick it to the foam board and cut.
The individual board tiles and the larger walls (those bigger than 8.5×11) were printed on a large-scale printer onto very thin sheets of a pvc-based material. It’s not something available in a normal store (advantage of having access to a professional sign shop). After printing, I used a 3M spray adhesive, lined it up and stuck them together. I tested it out and it was easy enough to slice through with a razor blade, but once I applied it to the foam board, it became extremely difficult to cut. I ended up having to apply a lot of pressure on the cuts, which caused slipping, missing marks, and near loss of digits on several occasions. If that sounds like a pain in the butt, it was. The process was far more difficult and time-consuming than I anticipated. It’s all right for the basic terrain squares and it’s more durable, but I won’t use it again for any buildings or anything that needs more than simple straight cuts.
That time-consuming process was why I still haven’t finished the prison…the original plan called for multiple interior levels and prison cells, but I just haven’t had time to cut all the pre-punched “smash-through-the-wall” sections.
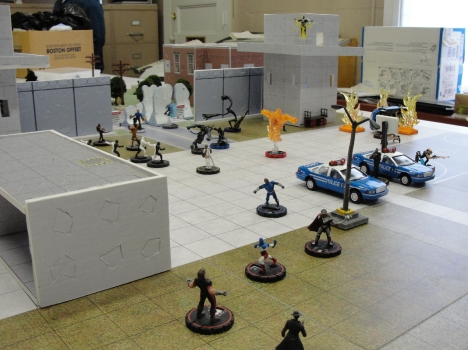
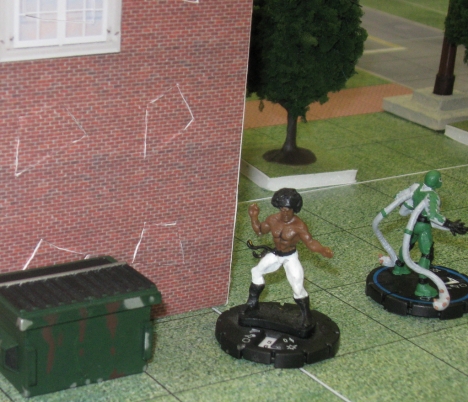
You can see the outline of pre-punched holes in almost every structure…
These sections allow super strong figures to ignore doors and make their own entrances.
While that makes for a fun battlefield, cutting those individual “smash-out” sections was the worst part of building this board…
More than once while working late into the night—my fingers sore from pressing down on the x-acto blade and thinking how there was still a hundred more cuts to make—the thought crossed my mind that I should stop what I was doing, set the map up in my driveway and run it over about six thousand times.
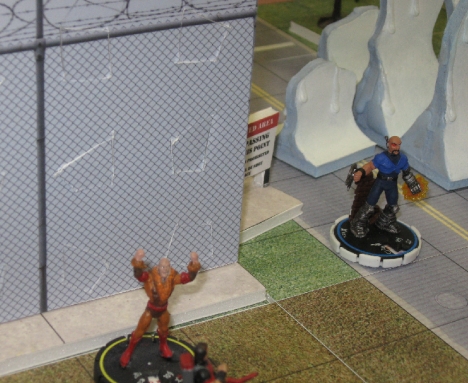
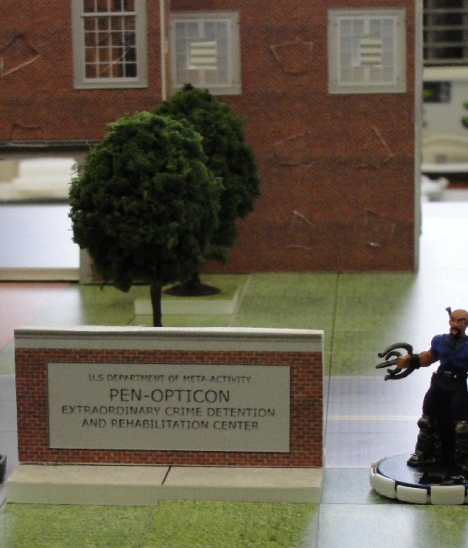
Some of the items on the map—like the above sign—are hand made (more foam board and print outs). Other objects (trees, picket fences, telephone poles, etc.) can be found at local toy/hobby shops, wandering through ebay or doing Google searches. Most of those items can stand on their own, but those that can’t get a small square of foam board as a base.
Taking a photo of this sign was risky business.
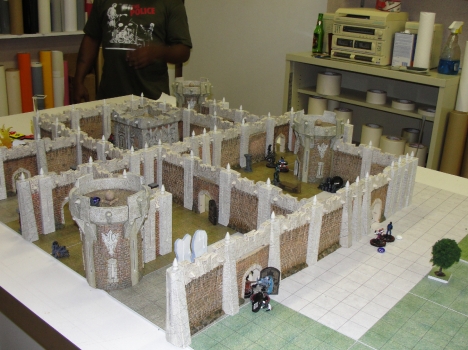
The board works as a good base map when you want to mix things up. Clear off the prison buildings, set up some Mage Knight castle pieces and it’s a whole new battlefield.
Even with the trial and error process, this project was a lot of fun. I plan on taking what I’ve learned and creating another board when some free time opens up. When finished—and if all the endless x-acto cutting doesn’t break me—I’ll be back for some more show and tell.
——————————————————————————————————————-
More custom 3-D custom Heroclix maps here, here and here.
Filed under: Uncategorized | Tagged: maps & boards |











Hello Pat!
I’m truly amazed at your work!
It’s exactly the type of terrain I want to make…
I tried making brick walls but I’m having difficulty finding the right scale for the bricks/doors/windows.
Is it possible to have your reworked building textures so I can make my own? I’m not a Photoshop wiz and I would appreciate the help… I also have a 7 month old son and I would appreciate saving time as you can imagine.
Thank you very much!
Congratulations once again on your work!
Eric
Heya Eric.
So a seven month old, eh? You gotta set up a ‘Clix map, fill it with a bunch of figures and RHARGHHH!, film your lil’ one going all Godzilla on it.
Anyway, I’d love to take credit for the ‘Big House’ map, but this is one I didn’t have a hand in. A buddy of mine cobbled it together.
Regarding those texture files, tell you what: jump over to the “Reach Me…” tab at the top of the blog and shoot me an e-mail. I’ll get in touch with the fella who made the map and see if he can hook you up.
wow, this looks really cool, kudos to your buddy for building this
this is the kind of quality map id lo build, i jsut donthave the time or resources
Yeah, he did a really good job on it.
And if you ever wanna try your hand at custom map-building, don’t be intimidated by what you see on the web. Give it a go, just start with a smaller map–nothing crazy–and get your feet wet.
Cardboard castles with ruler-drawn “bricks” on a small sheet of wood was my first map. For better or worse, things snowballed from there.